

Tyre sealant might be considered a “poor man’s run-flat tyre.” While it doesn’t offer the built-in structure of a true run-flat, it can still keep you moving for a short time - just enough to get somewhere safe. Learn how to use tyre sealant, with our guide.
Discovering you’ve got a flat tyre can be stressful. Even if you’ve dealt with many ‘flats’ in the past, you never know exactly how major - or how minor - a puncture is until you try and tackle it.
Sometimes, however, a flat tyre is relatively easy to remedy - especially if the puncture in question is less than 6mm in diameter, and is located on the central 75% of the tyre.
It’s often possible to fill these smaller holes with a tyre sealant kit, meaning you can usually get back on the road quickly and safely.
Here’s how to use tyre sealant effectively when dealing with a puncture.
What is flat tyre sealant?
Tyre sealant is a liquid compound - usually comprising latex - designed to temporarily plug punctures in tubeless tyres. It's typically injected through the valve stem and spreads inside the tyre, sealing small holes (usually up to 6mm) by hardening on contact with air.
There are two main types of car tyre sealant:
- Aerosol sealant cans: These are all-in-one canisters that inject sealant and inflate the tyre simultaneously
- Sealant-and-compressor kits: Kept in many modern cars, these use a separate sealant bottle and electric pump. In fact, many manufacturers now provide sealant-and-compressor kits instead of a spare wheel as part of the factory equipment.
Using tyre sealant may mean you can reach a garage, your home, or another safe space, without having to call roadside assistance or other help. In this regard it is similar to the run-flat tyre, although it is much cheaper, and doesn’t necessitate the replacement of the tyre (run-flats cannot be used again after a puncture).
When to use tyre puncture sealant
- You have a small puncture from a nail or screw
- The tyre isn’t shredded or damaged on the sidewall
- You need a temporary fix to drive to a garage or home
Do not use tyre sealant if:
- The tyre has a blowout or large tear
- The sidewall is damaged
- The wheel rim is cracked or bent
Car tyre sealant is not suitable for addressing the above scenarios. Indeed, if a tyre has been damaged in the above ways, chances are you’ll need a completely new tyre.
What you’ll need
- Tyre sealant (aerosol can or bottle)
- Portable air compressor (if not using an aerosol)
- Car jack (optional but most useful)
- Valve core remover (some kits include this): a small tool that removes or reinstalls the inner valve mechanism, allowing you to quickly release air or inject sealant directly into the tyre.
How does tyre sealant work? Step-by-step guide
If you’re wondering How does tyre sealant work? - the following steps explain how to use both of the main types of tyre sealant used in the UK.
Aerosol can method
- Position your car safely: Pull over to a flat, safe area and put on hazard lights.
- Shake the can well: Read instructions for your specific product.
- Attach the nozzle: Screw or push it onto the tyre valve.
- Inject the sealant: Press the button to release the fluid into the tyre.
- Drive immediately: Most products require driving 3–5 miles to spread the sealant and seal the puncture.
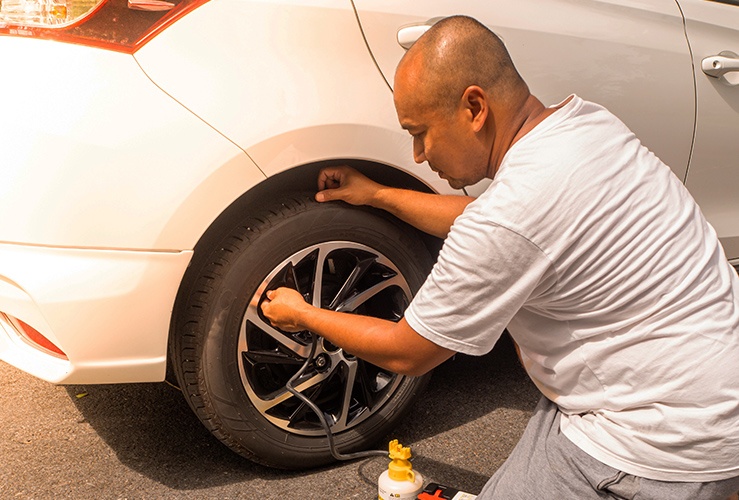
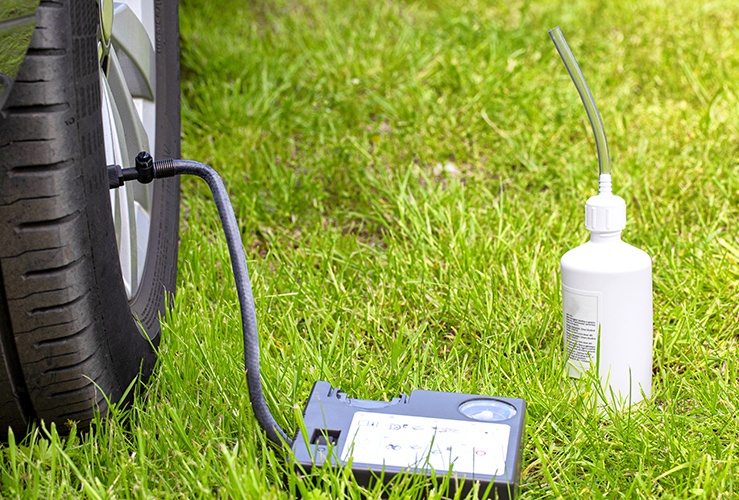
Sealant and compressor kit method
- Read the manual: Every kit differs slightly.
- Connect the sealant bottle: Attach it to the air compressor hose.
- Screw the hose onto the tyre valve.
- Plug in the compressor: Use your 12V car socket.
- Switch it on: It will inject the sealant and inflate the tyre.
- Check the pressure: Inflate to the recommended PSI (check your door sticker or owner’s manual).
- Drive to spread the sealant: Usually 5–10 minutes.
Aftercare: what to do next
- Visit a tyre shop/garage ASAP: Note that using tyre sealant is only a temporary fix. A professional needs to inspect and repair - or possibly replace - the tyre.
- Do tell the mechanic you used sealant: It makes the tyre messy to work on.
- Clean or replace your sealant kit: Many kits are single-use.
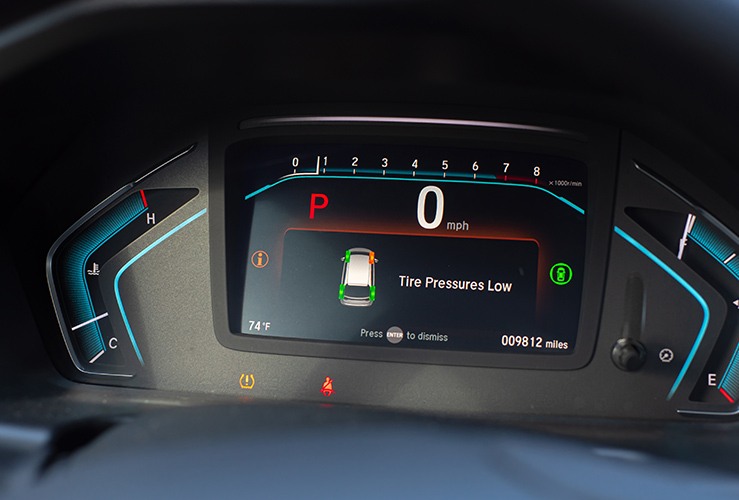
Why sealant might damage your TPMS sensors
The vast majority of modern vehicles are equipped with a Tyre Pressure Monitoring System (TPMS) that uses sensors - often located inside the tyre valve - to monitor air pressure. When tyre puncture sealant is injected into the tyre, it can coat or clog these delicate sensors. This can lead to incorrect readings, warning lights on the dashboard, or permanent sensor damage.
If your car has TPMS, choose sealants that are specifically labelled as TPMS-safe, and always have the sensors checked or cleaned after using a sealant.
Replacing a TPMS (Tyre Pressure Monitoring System) sensor in the UK typically costs between £40 and £100 per sensor, depending on your car make and model. As is often the case, you’ll pay more if you have a premium car.
How long does a sealant repair last?
Flat tyre sealant is designed as a temporary solution. Its effectiveness varies depending on the size and location of the puncture, the type of sealant used, and driving conditions.
Generally, a sealant repair will last for 50 to 100 miles (comparable to run-flat tyres) - just enough to get you to a tyre specialist. However, it should never be considered a permanent fix. Prolonged use can lead to uneven wear, reduced handling performance, and potential safety issues. And the more you drive on it, the more you may damage the tyre - increasing the chances of having to buy a new one.
Pros and cons of using tyre sealant
Pros | Cons |
Quick and easy temporary fix | Doesn’t work on major damage |
Avoids roadside tyre changes | Can ruin TPMS sensors if misused |
Takes up less space than a spare | Some garages won’t repair sealed tyres |
Final tips for effective tyre puncture sealant use
- Always check your tyre pressure after using sealant
- Replace the sealant if your kit is over 4 years old
- Don’t rely on sealant for long-distance or high-speed driving
Using tyre sealant can be a great way to stay mobile after a minor puncture. It’s not a long-term fix, but it can save you time, money, and hassle in the short term. Keep a can or kit in your boot and be sure you know how to use it - you may well thank yourself later!